 Add Additional Contact
Additional contacts are used when you would like certain people to get email notifications of various events, but do not want them to be able to log into the portal itself, for instance you can add billing contact or a domains contact. If you would like someone to be able to log into the portal, you'll need to add them as a user
If you'd like to add an additional contact, follow the steps below
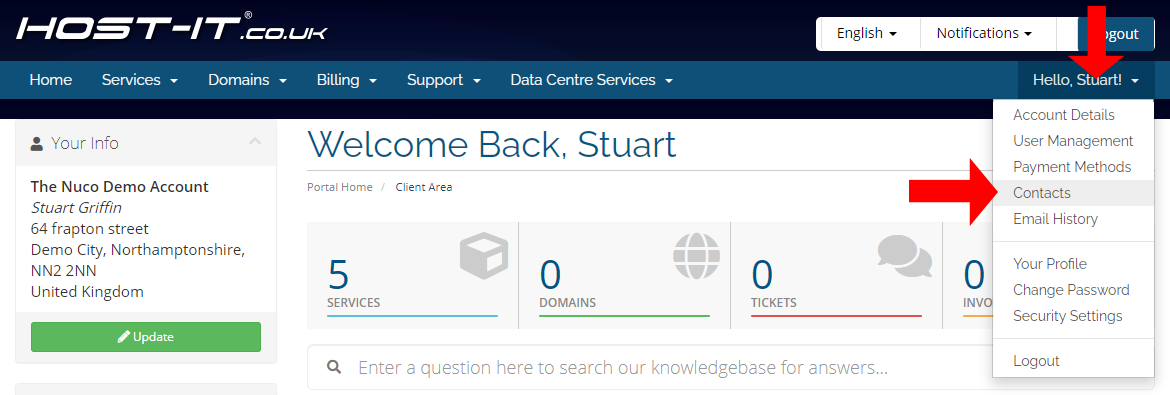
- Select your profile button at the top right of the screen select Contacts.
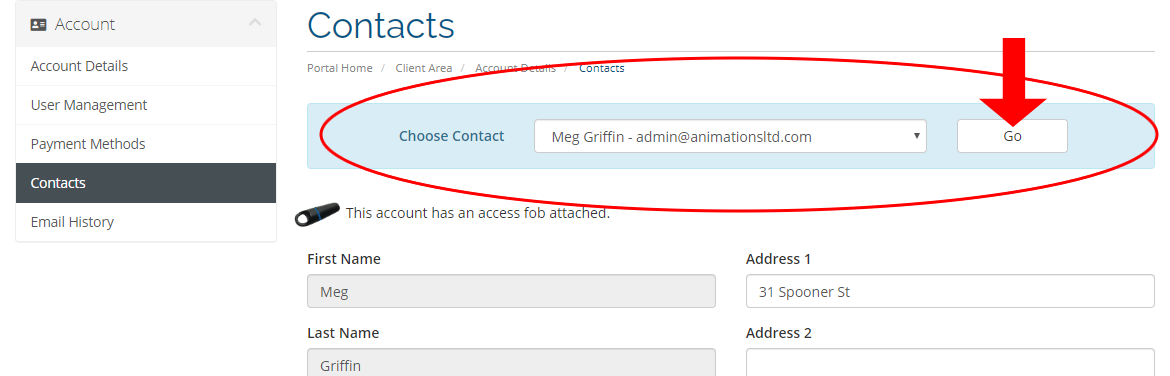
- You can now modify a contact or add a new contact from this page to modify a contact then select the contact from the Choose Conatact dropdown menu or select Add New Contact
-
When adding a new contact you will need to fill in all required details for the contact.
If you want the contact to be able to receive email comunications from the portal then you can select the apropriate options from the Email Preferences section.

- Once you have filled out all the required details you can select save changes to create and apply the changes to your account.
